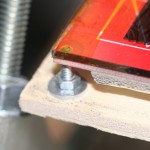
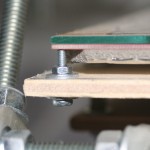
To install the heated print bed for my reprap, I placed the PCB on top of the plywood top print plate (which is slightly larger than the PCB), clamped it in place, and then used the holes in the PCB to drill out mating holes in the top plate. I put a washer on a 16mm M3 screw, and inserted it up through the print plate, added another washer, and a M3 nut to hold it securely in place. (I actually used SAE washers, as you can probably see from the photos, and that’s okay, too.)
Next I took my PCB heatbed to Lowes and had them cut a piece of glass to the exact same size. (While I was at Lowes, I picked up some Frost King 2″ insulated pipe wrap.) The glass is about 2.2mm thick, and it was only a few dollars. I cleaned up the edges of the cut glass with some fine grit sandpaper to make it a bit safer, then I put a small piece of Kapton tape (polyimide) on each corner of the glass to provide a little protection from the screws. Using the same tape, I secured the glass to the top of the PCB.
I covered the bottom of the PCB with the Frost King insulated pipe wrap to help keep the heat going up. I had to cut out notches to make room for the screws that would hold it in place (at the corners) as well as the tops of the screws that fastened the print top plate to the print bottom plate. I added a couple bits of extra pipe wrap to the center to help support the PCB and keep it from sagging.
The PCB/glass assembly rests solidly atop the four screws — there is no “play” at all. Here are a couple of pictures. (Click for larger view.)


Interesting; may I ask, how did you level the bed?
I know it is obvious to you, but I can not see the obvious today 😉